Building a dApp using Thirdweb SDK
In this tutorial, we will explore how to build a dAPP using Thirdweb SDK to display an NFT collection deployed on Cyber testnet. It is a great way to showcase your NFT collection with a gallery application that allows users to view the metadata of all NFTs in your collection. The process involves first setting up your NFT collection, then minting NFTs in your collection and lastly we will be building an NFT gallery dApp to view NFT collection.
Setting up your NFT collection
- Go to the thirdweb dashboard.
- Click the Connect Wallet button located in the upper right corner to connect your wallet.
- From the dashboard, select browse contracts to explore a list of deployable smart contracts. Now, Navigate to the NFTs section and select the NFT Collection smart contract.
- Click the Deploy now button.
- Now, Provide the required metadata details for your NFT collection such as Name, Symbol and Description.
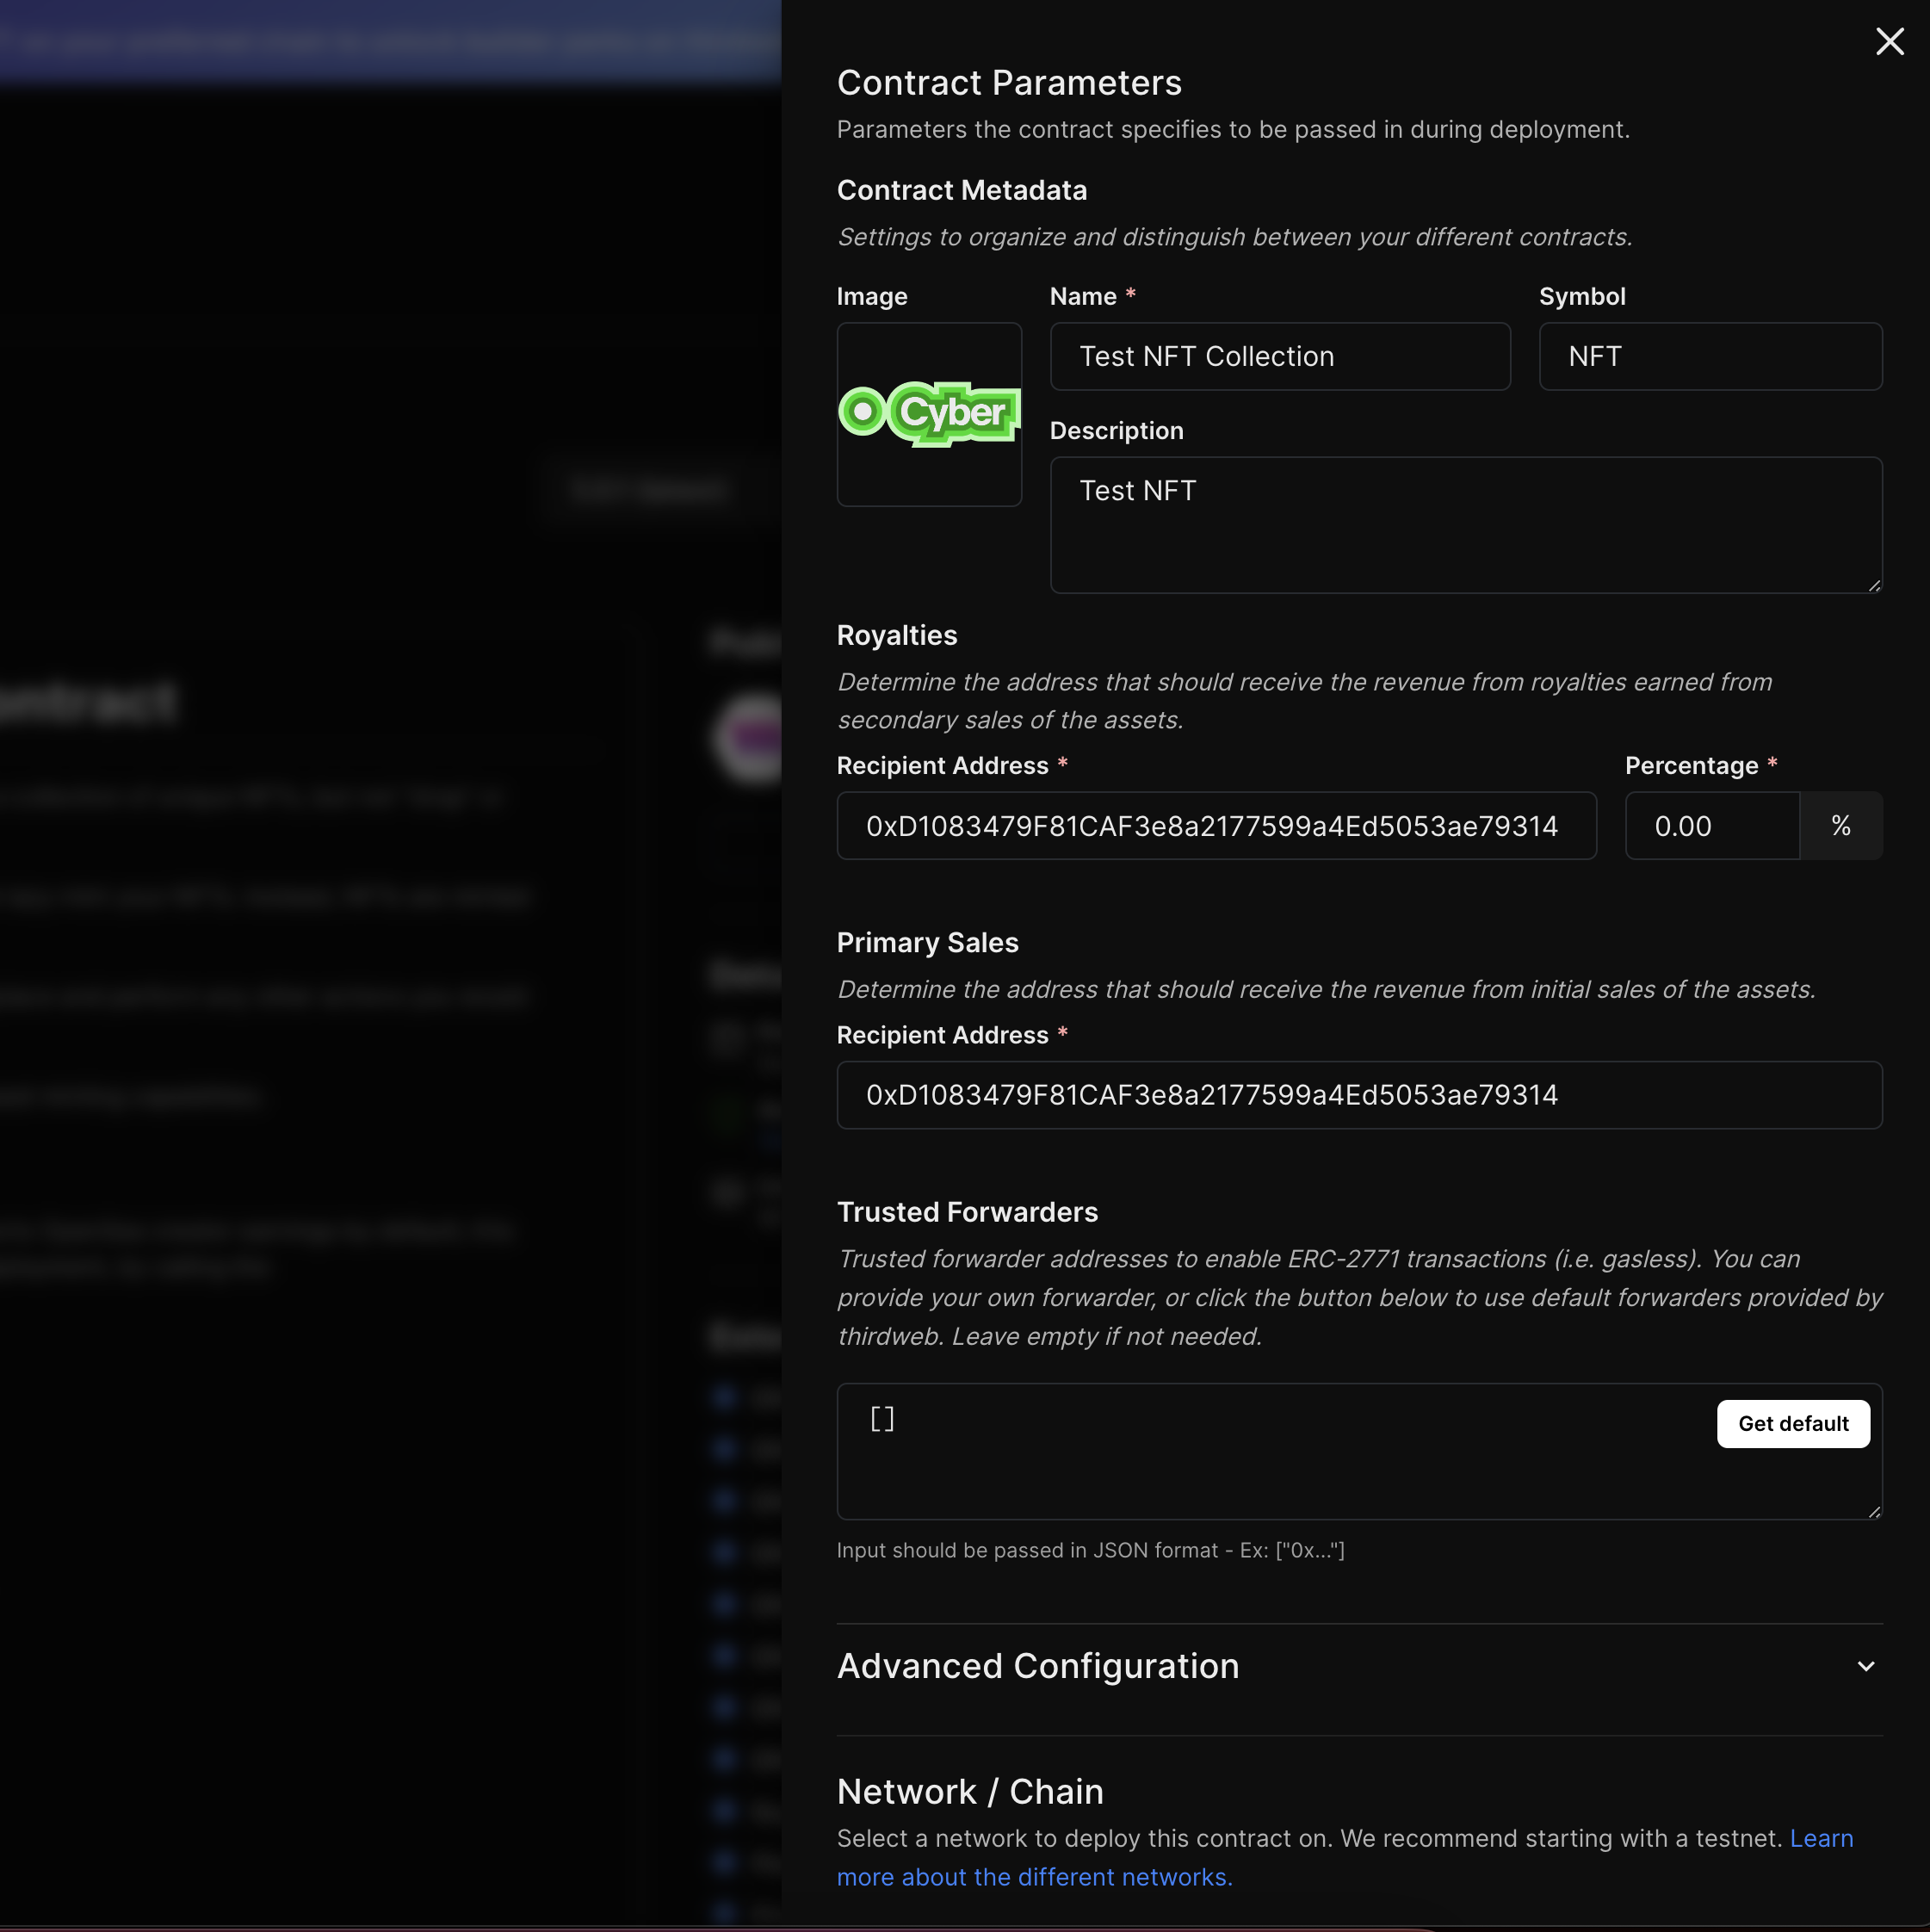
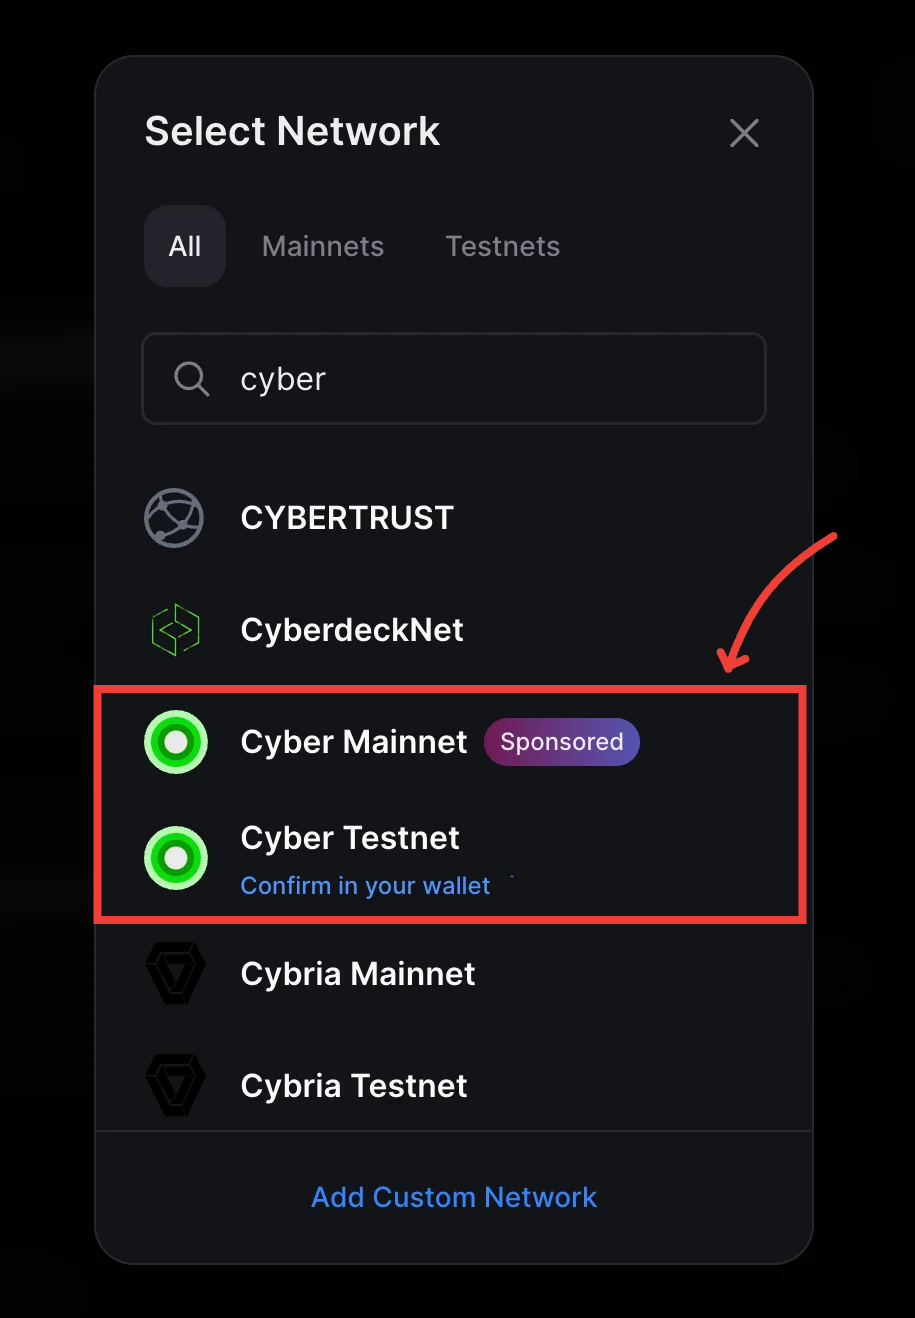
- Under the Network selection choose Cyber Testnet.
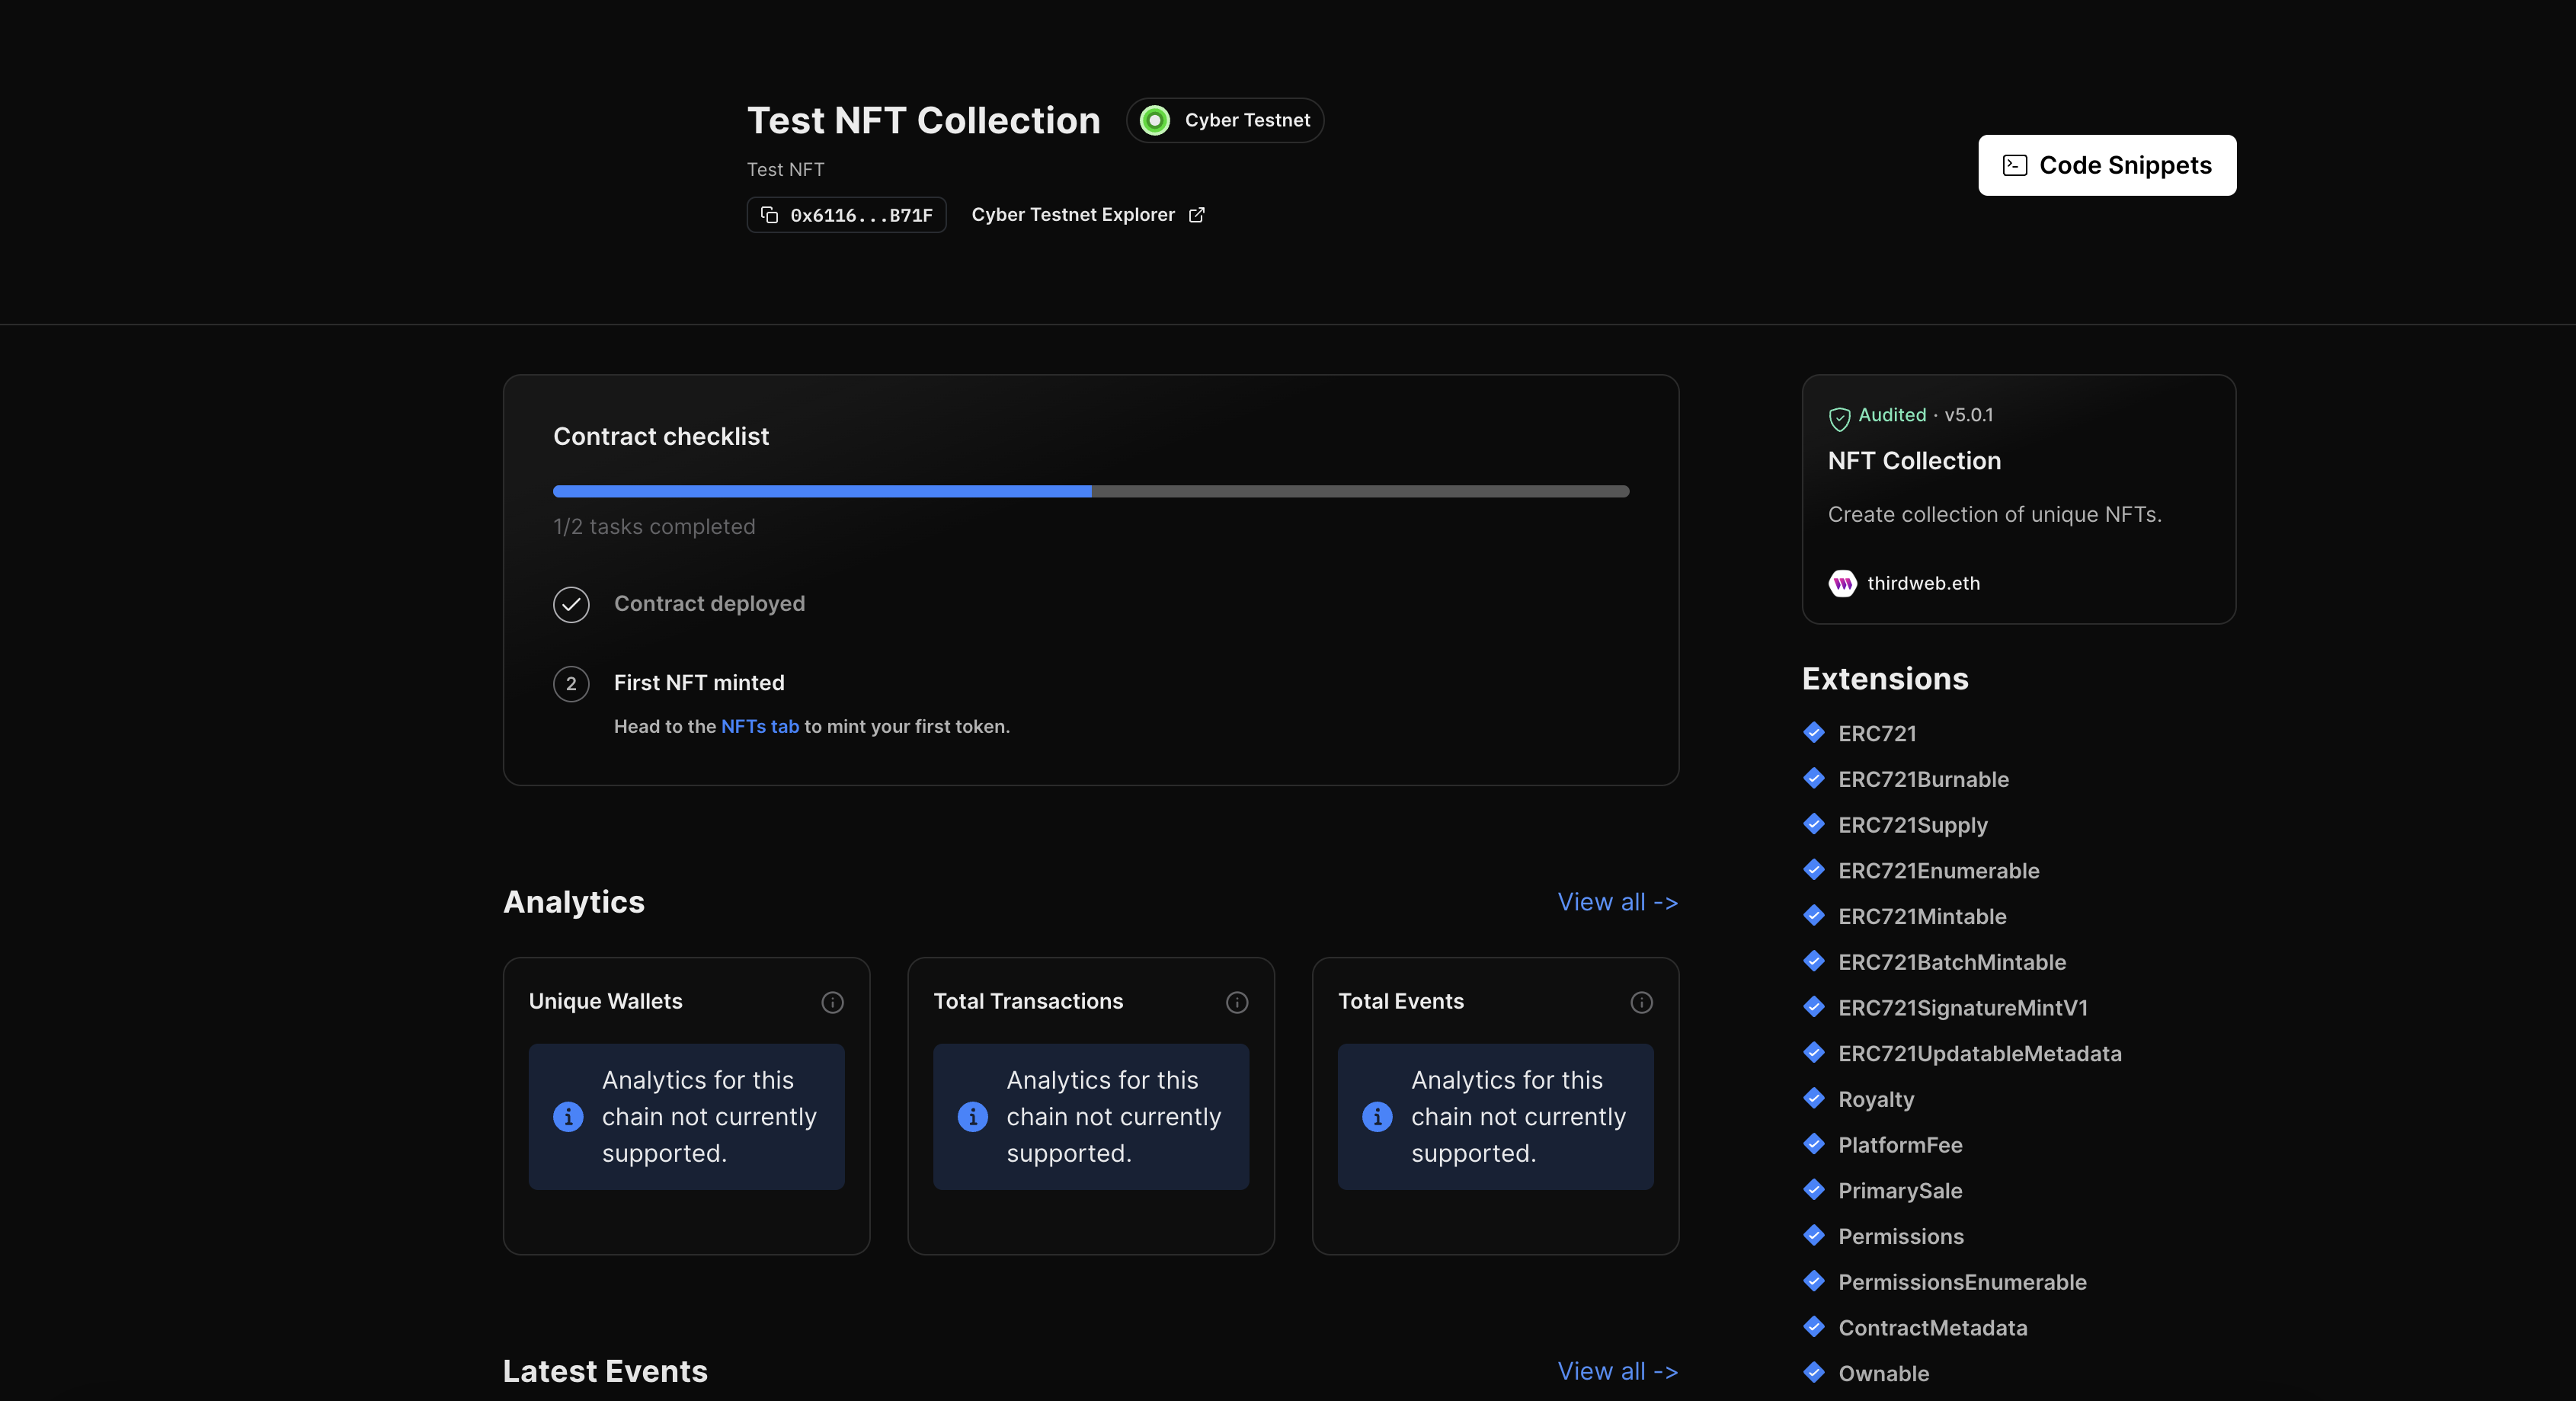
- Click Deploy Now to deploy the NFT collection and sign the transactions from your wallet.
Minting NFTs in your collection
Currently, our NFT Collection doesn't contain NFTs. To populate our upcoming NFT Gallery app, we will need to mint NFTs.
- Navigate to the NFTs tab on the left-hand sidebar and click Mint.
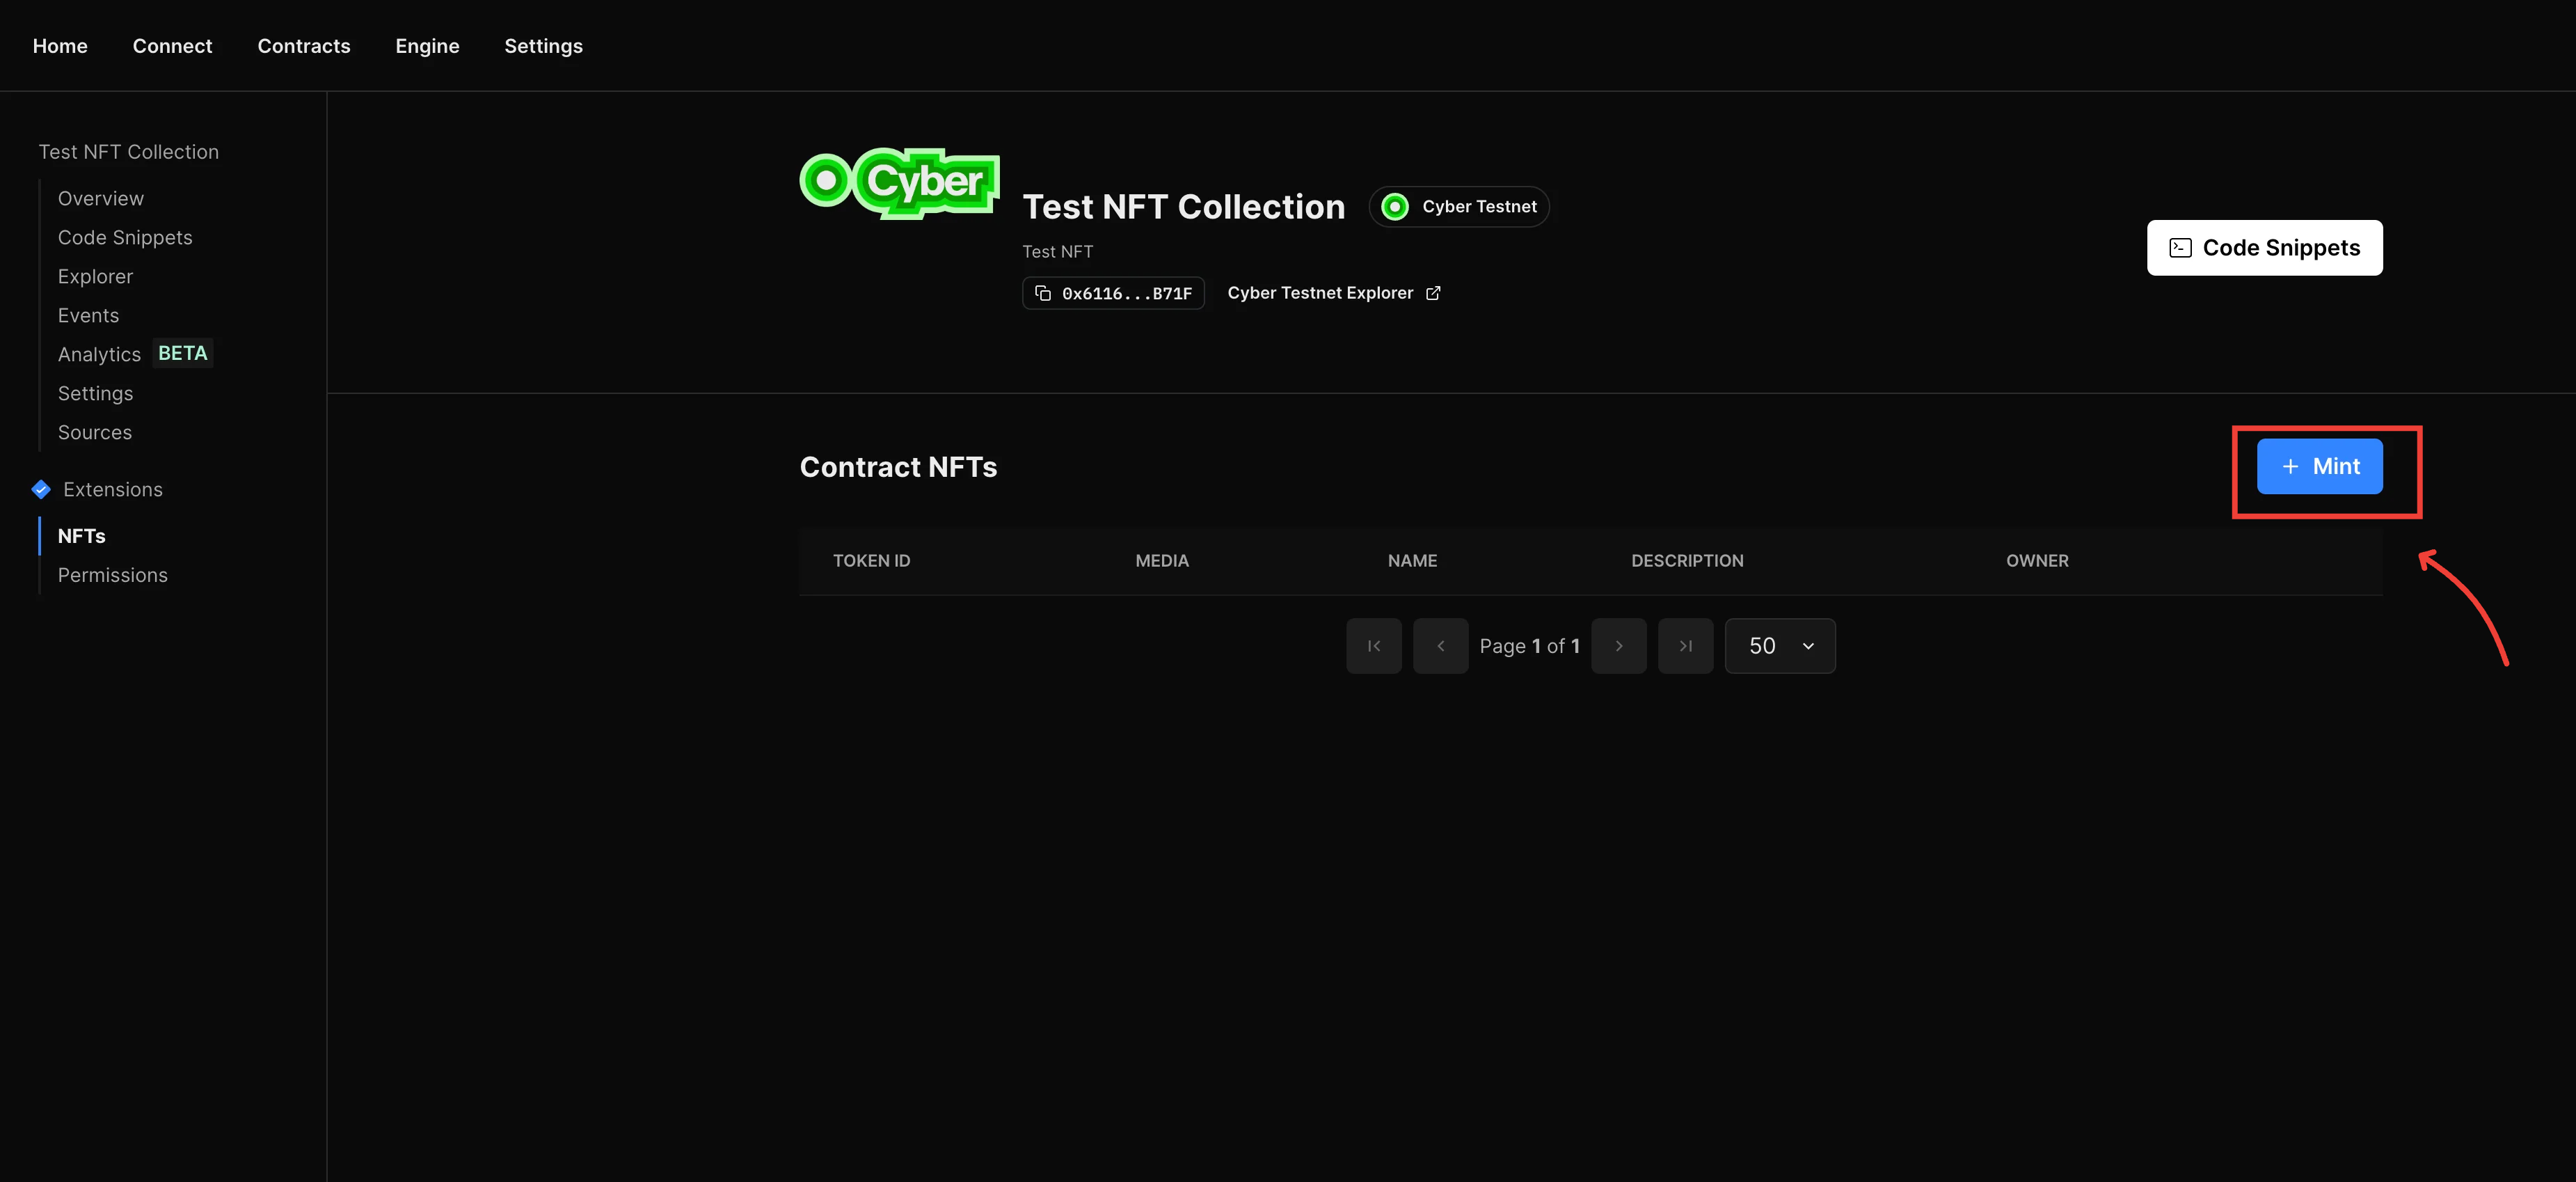
- Fill in the metadata details for the NFT like name, media, description, properties and Click Mint NFT.
- Repeat these steps to mint as many NFTs as you'd like.
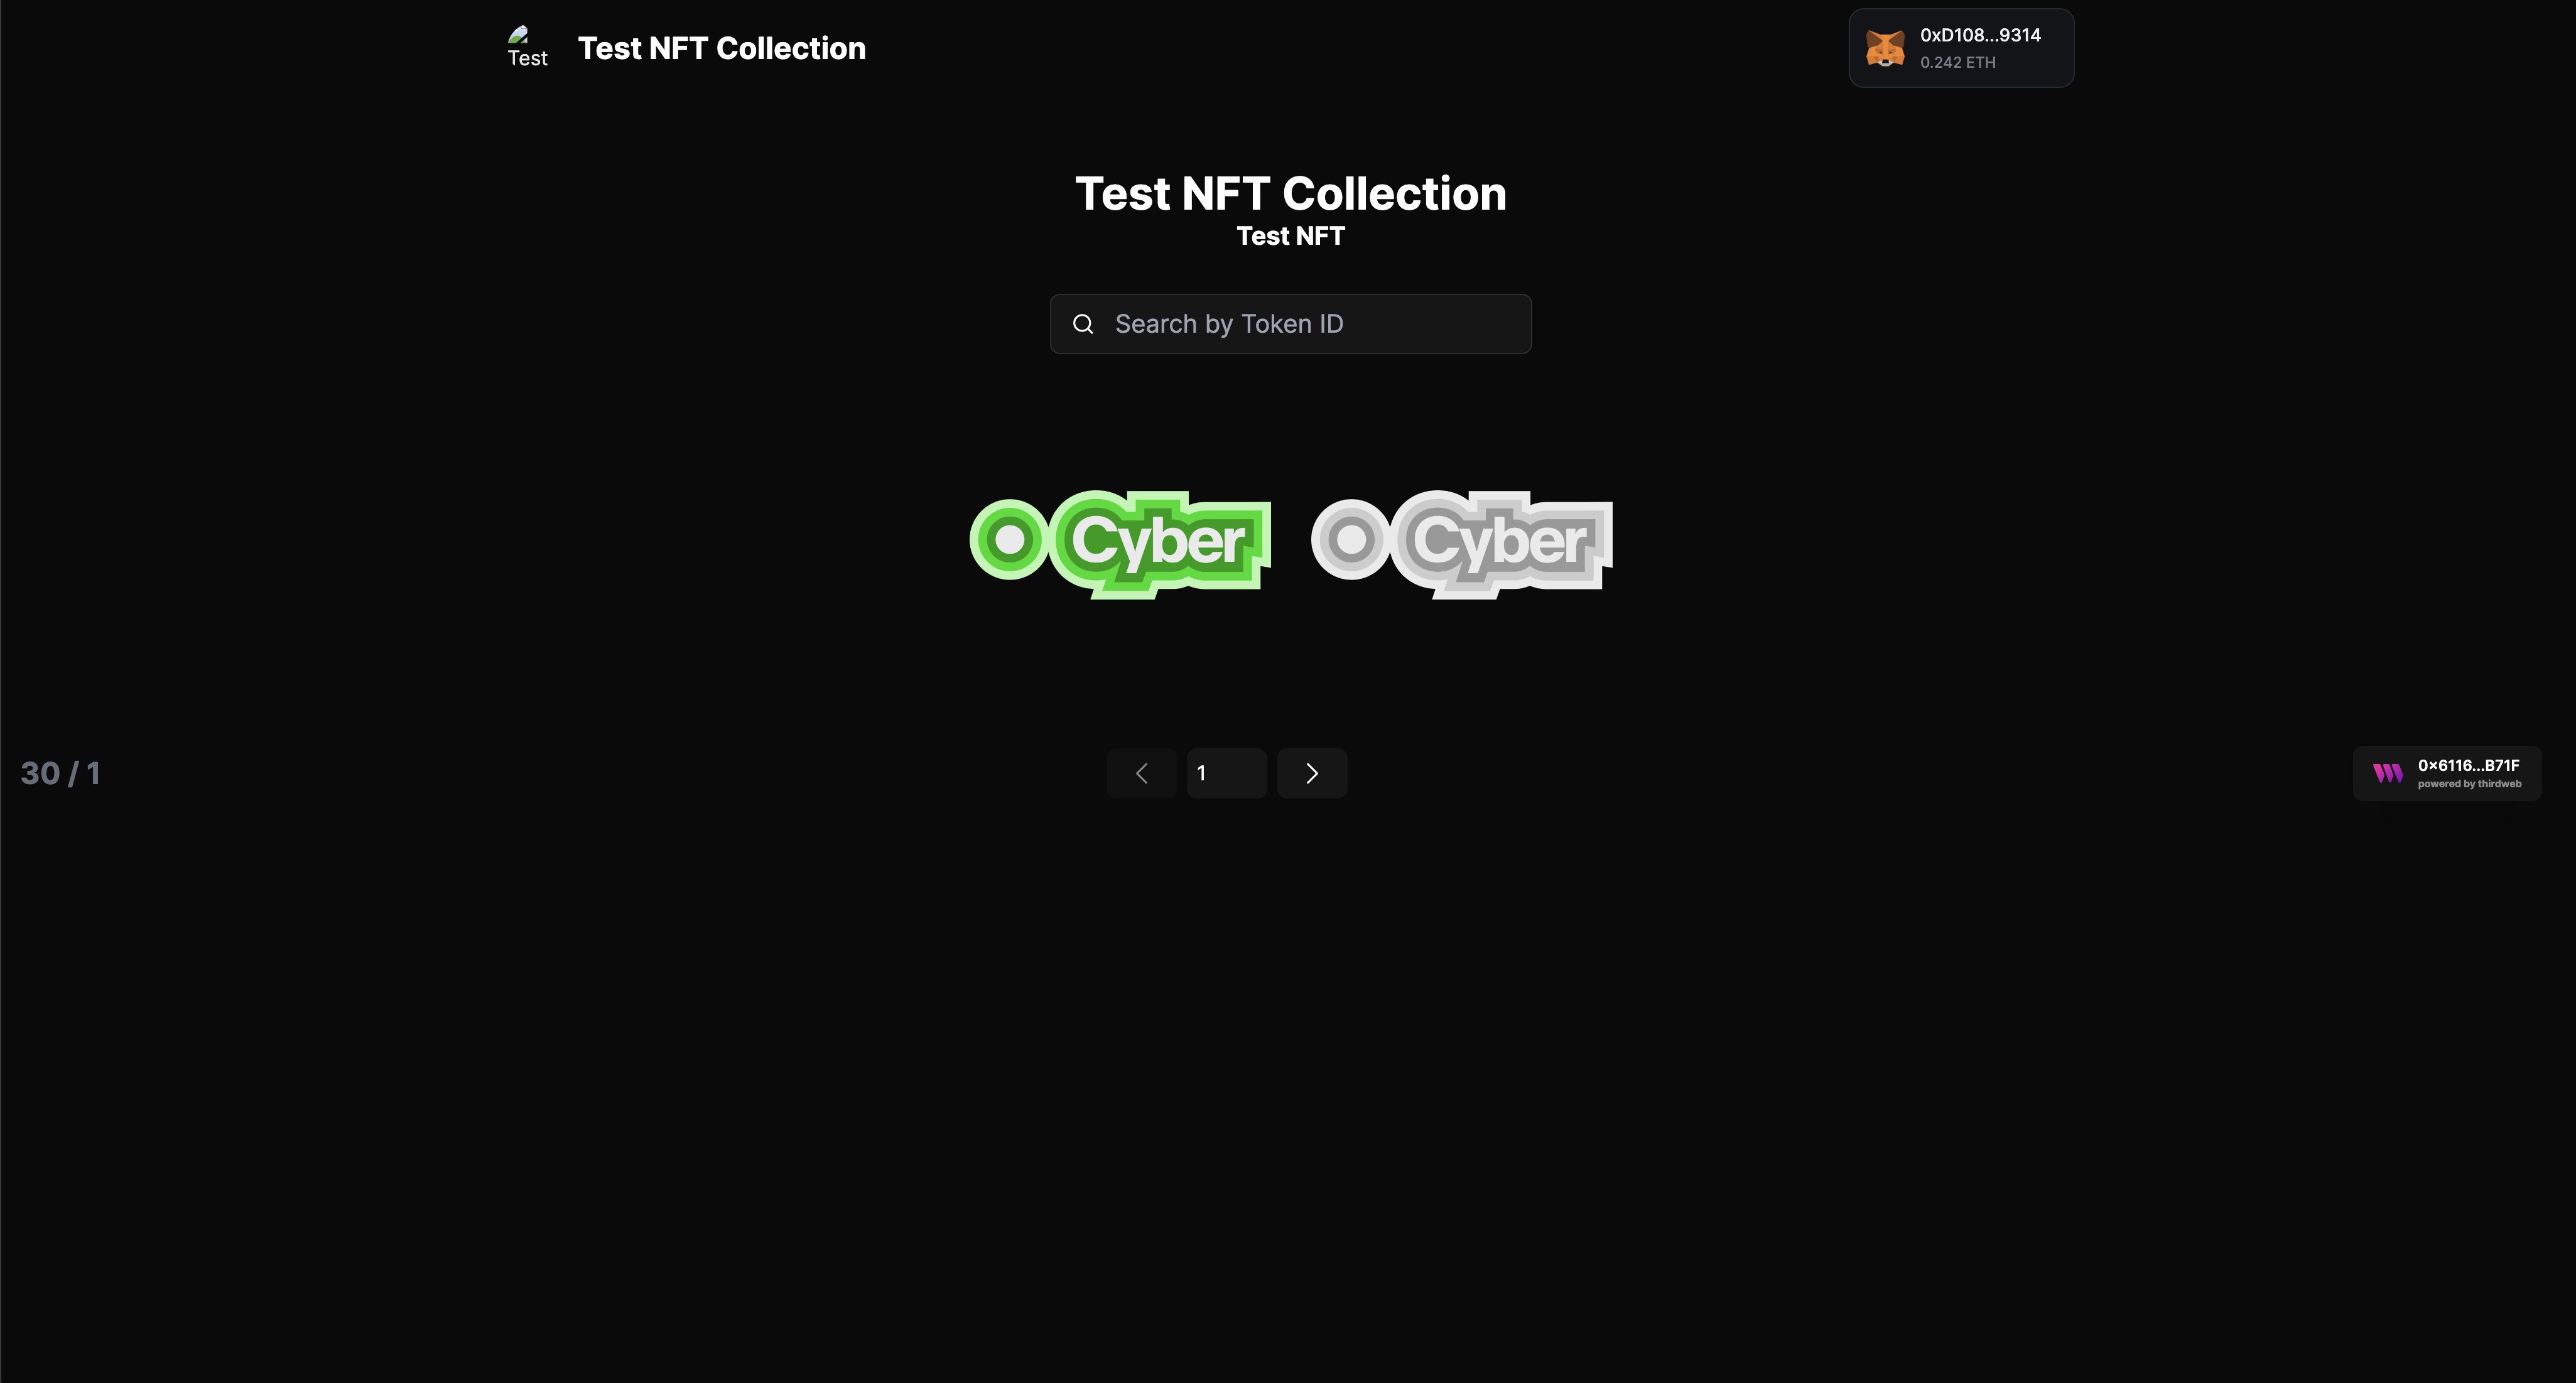
Building an NFT Gallery App
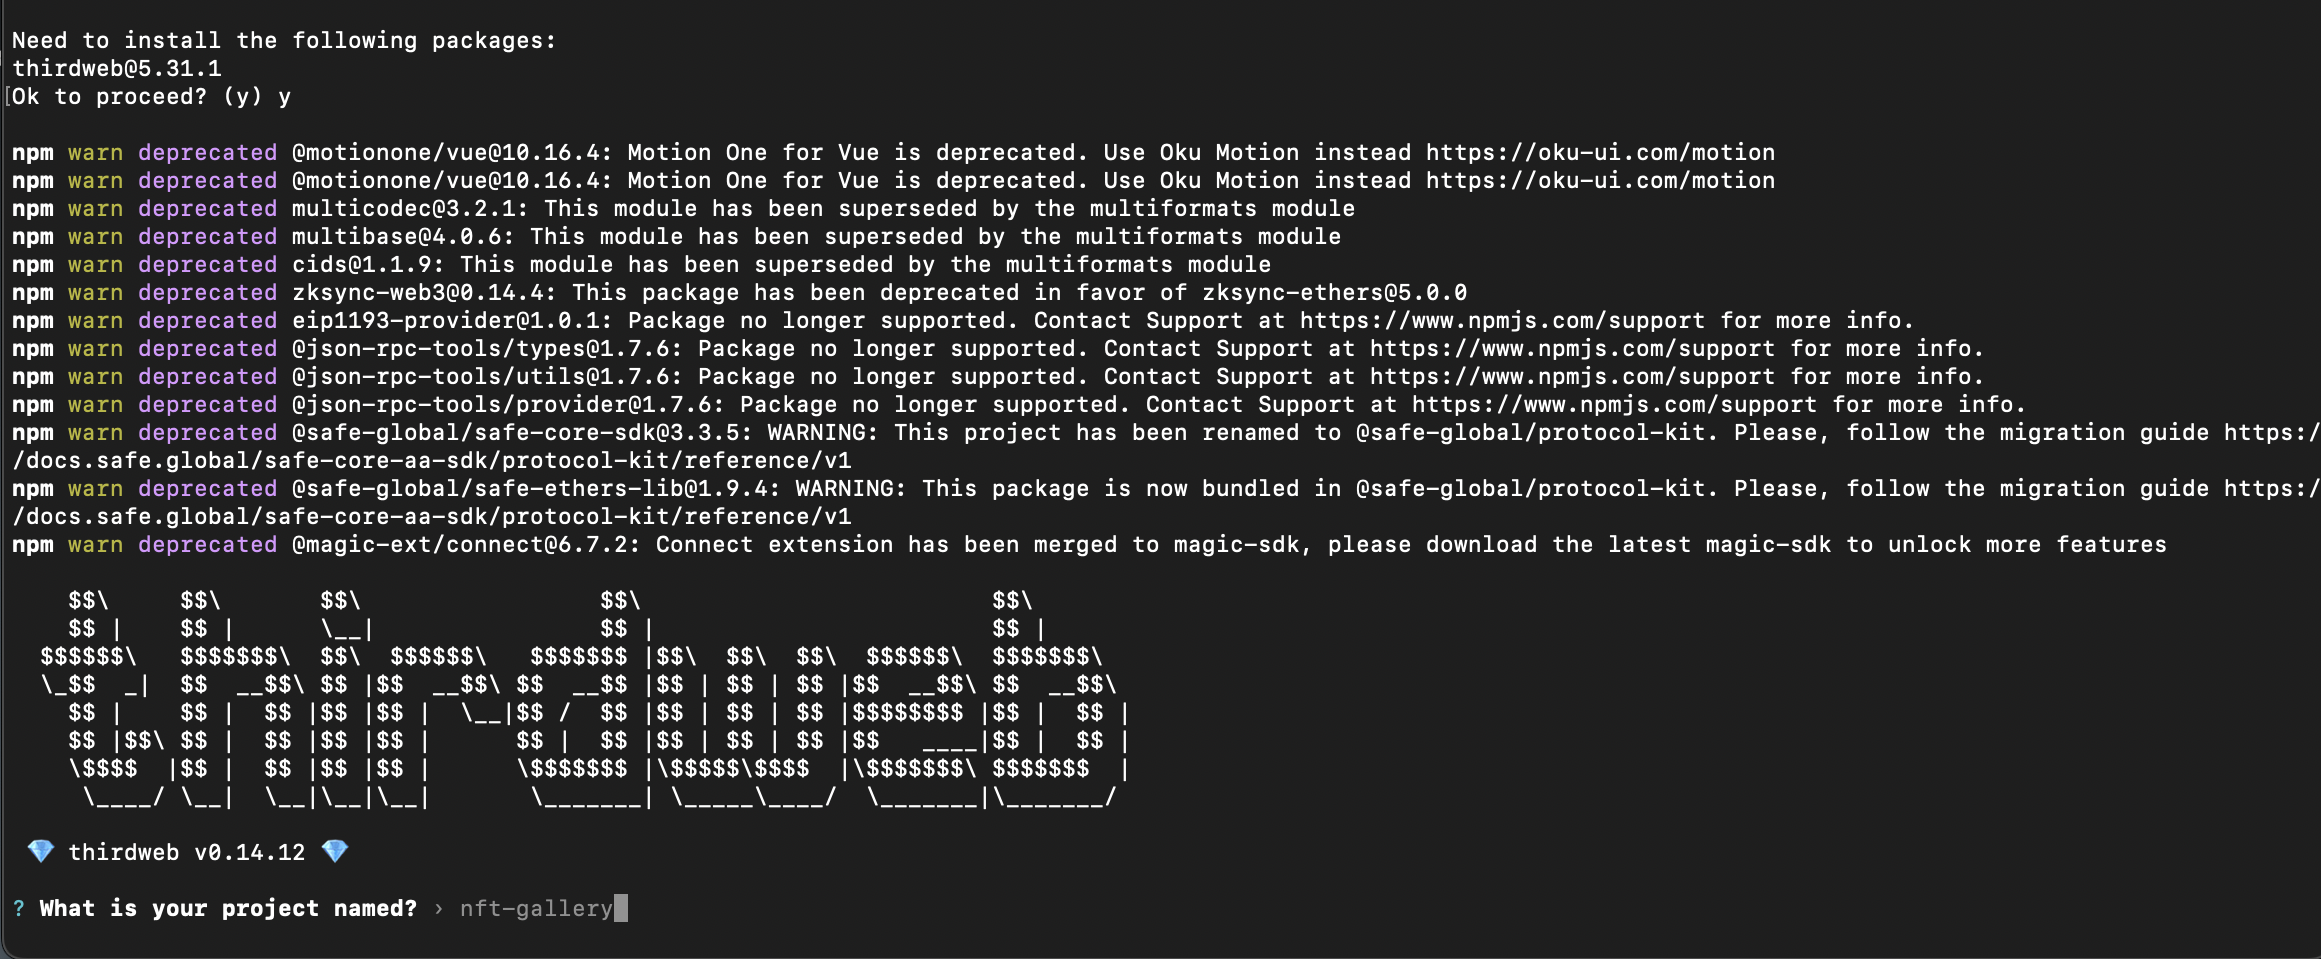
Now that an NFT Collection is ready, it's time to build the NFT Gallery App. The thirdweb CLI provides various prebuilt templates for popular app use-cases, in this tutorial, we'll use the thirdweb CLI to generate a new app project using the NFT Gallery template.
- Run the following command in your terminal:
npx thirdweb create --template nft-galleryAfter execution, you will have a project ready with pre-configured code.
By default, the template is configured for an NFT collection on the Ethereum Mainnet. We will modify the code to adapt our NFT collection on the Cyber Testnet.
- Navigate to
src/consts/parameters.tsfile. - Update your Client ID from thirdweb API dashboard.
- Update the contractAddress variable to your NFT collection's contract address (found on the thirdweb dashboard).
- Change the chain name from
{ ethereum }to{ defineChain } - Update the chain variable to
defineChain(111557560).
The file should look like this:
import { createThirdwebClient, getContract } from "thirdweb";
import { defineChain } from "thirdweb/chains";

/** Change these values to configure the application for your own use. **/

export const client = createThirdwebClient({
  clientId: "ClientID",
});

export const nftContract = getContract({
  // Your smart contract address (available on the thirdweb dashboard)
  address: "0x61166E63C74b98e2C3aB73e47F1C8396ffAdB71F",
  // The chain object of the chain your contract is deployed to.
  // If that chain isn't in the default list of our SDK, use `defineChain` - for example: defineChain(666666)
  chain: defineChain(111557560),
  client,
});
Running the Application
To start the application, run the following command from the root directory:
npm run devNavigate to the localhost address from the terminal to view the dAPP
Conclusion
You've successfully deployed a dAPP on Cyber Testnet using thirdweb SDK. Continue to explore and leverage thirdweb's features to enhance your projects with Cyber and share your achievements within the developer community. If you face any issues, feel free to reach out to our engineers for Support.